Friday, January 27, 2012

Before You Start Your Build

Before I start posting about how each step of my build went, I thought that I would do a post on some things I think are important before you start building your RepRap.

I ended up needing all of the these things during my built at some point and I believe that having all of them before you start will really help you out.

Materials
  • Electrical Tape (or Heat Shrink)
  • Liquid Electrical Tape
  • Blue Painters Tape
Even if you bought pre-built electronics, you will still want to have electrical tape; sometimes wires break. Electrical tape is also useful for some quick fixes that regular tape can't handle. As far as liquid electrical tape goes, this is an odd one. When you are making your own electronics and need to insulate something that is not a nice shape, liquid electrical tape works wonders. Another possible use is for connections where you don't want the electrical tape to unravel. It's one of those things you will always use once you have it.

Blue painters tape is good thing to have once you finish building your printer. Even though it is not the best material to print on, it is a great material to experiment on with your first prints.

Tools
Sometimes, you just need to glue stuff. I love hot glue, it provides a strong bond for tons of different materials but it can also "easily" be removed. Keep in mind though that hot glue will melt, so keep it away from the hot-end.

Files are come in very handy if you need to file down one of your printed parts during the build. During my build I did not have a good set of files; in hindsight, I really wish that I had files during my build. Files also can come in handy for removing undesirable parts from your initial prints.

I know that this one might be obvious but I can't stress the need for a level enough, and I don't mean the level app that you have on your smart phone! Sure the phone one is useful but unless you can accurately calibrate it, it is useless. Making sure each section of your build is level is VERY important for getting high quality prints and making sure parts like the X-carriage moves correctly without getting stuck. A ruler and/or caliper is also great to have for a similar reason. It will help you align your build frame, make sure parts are the right size, and helps you calibrate your printer once it's put together. Make sure you have a quality ruler.

Sure I would recommend having a full set of electronics test equipment, but it is not necessary. You don't need an oscilloscope, but you do need a multimeter. Even having a cheapo $2 multimeter from eBay is better than not having one at all. It is VERY important to make sure your supply voltages are correct for the electronics, and a multimeter is invaluable if you have any problems with your electronics.

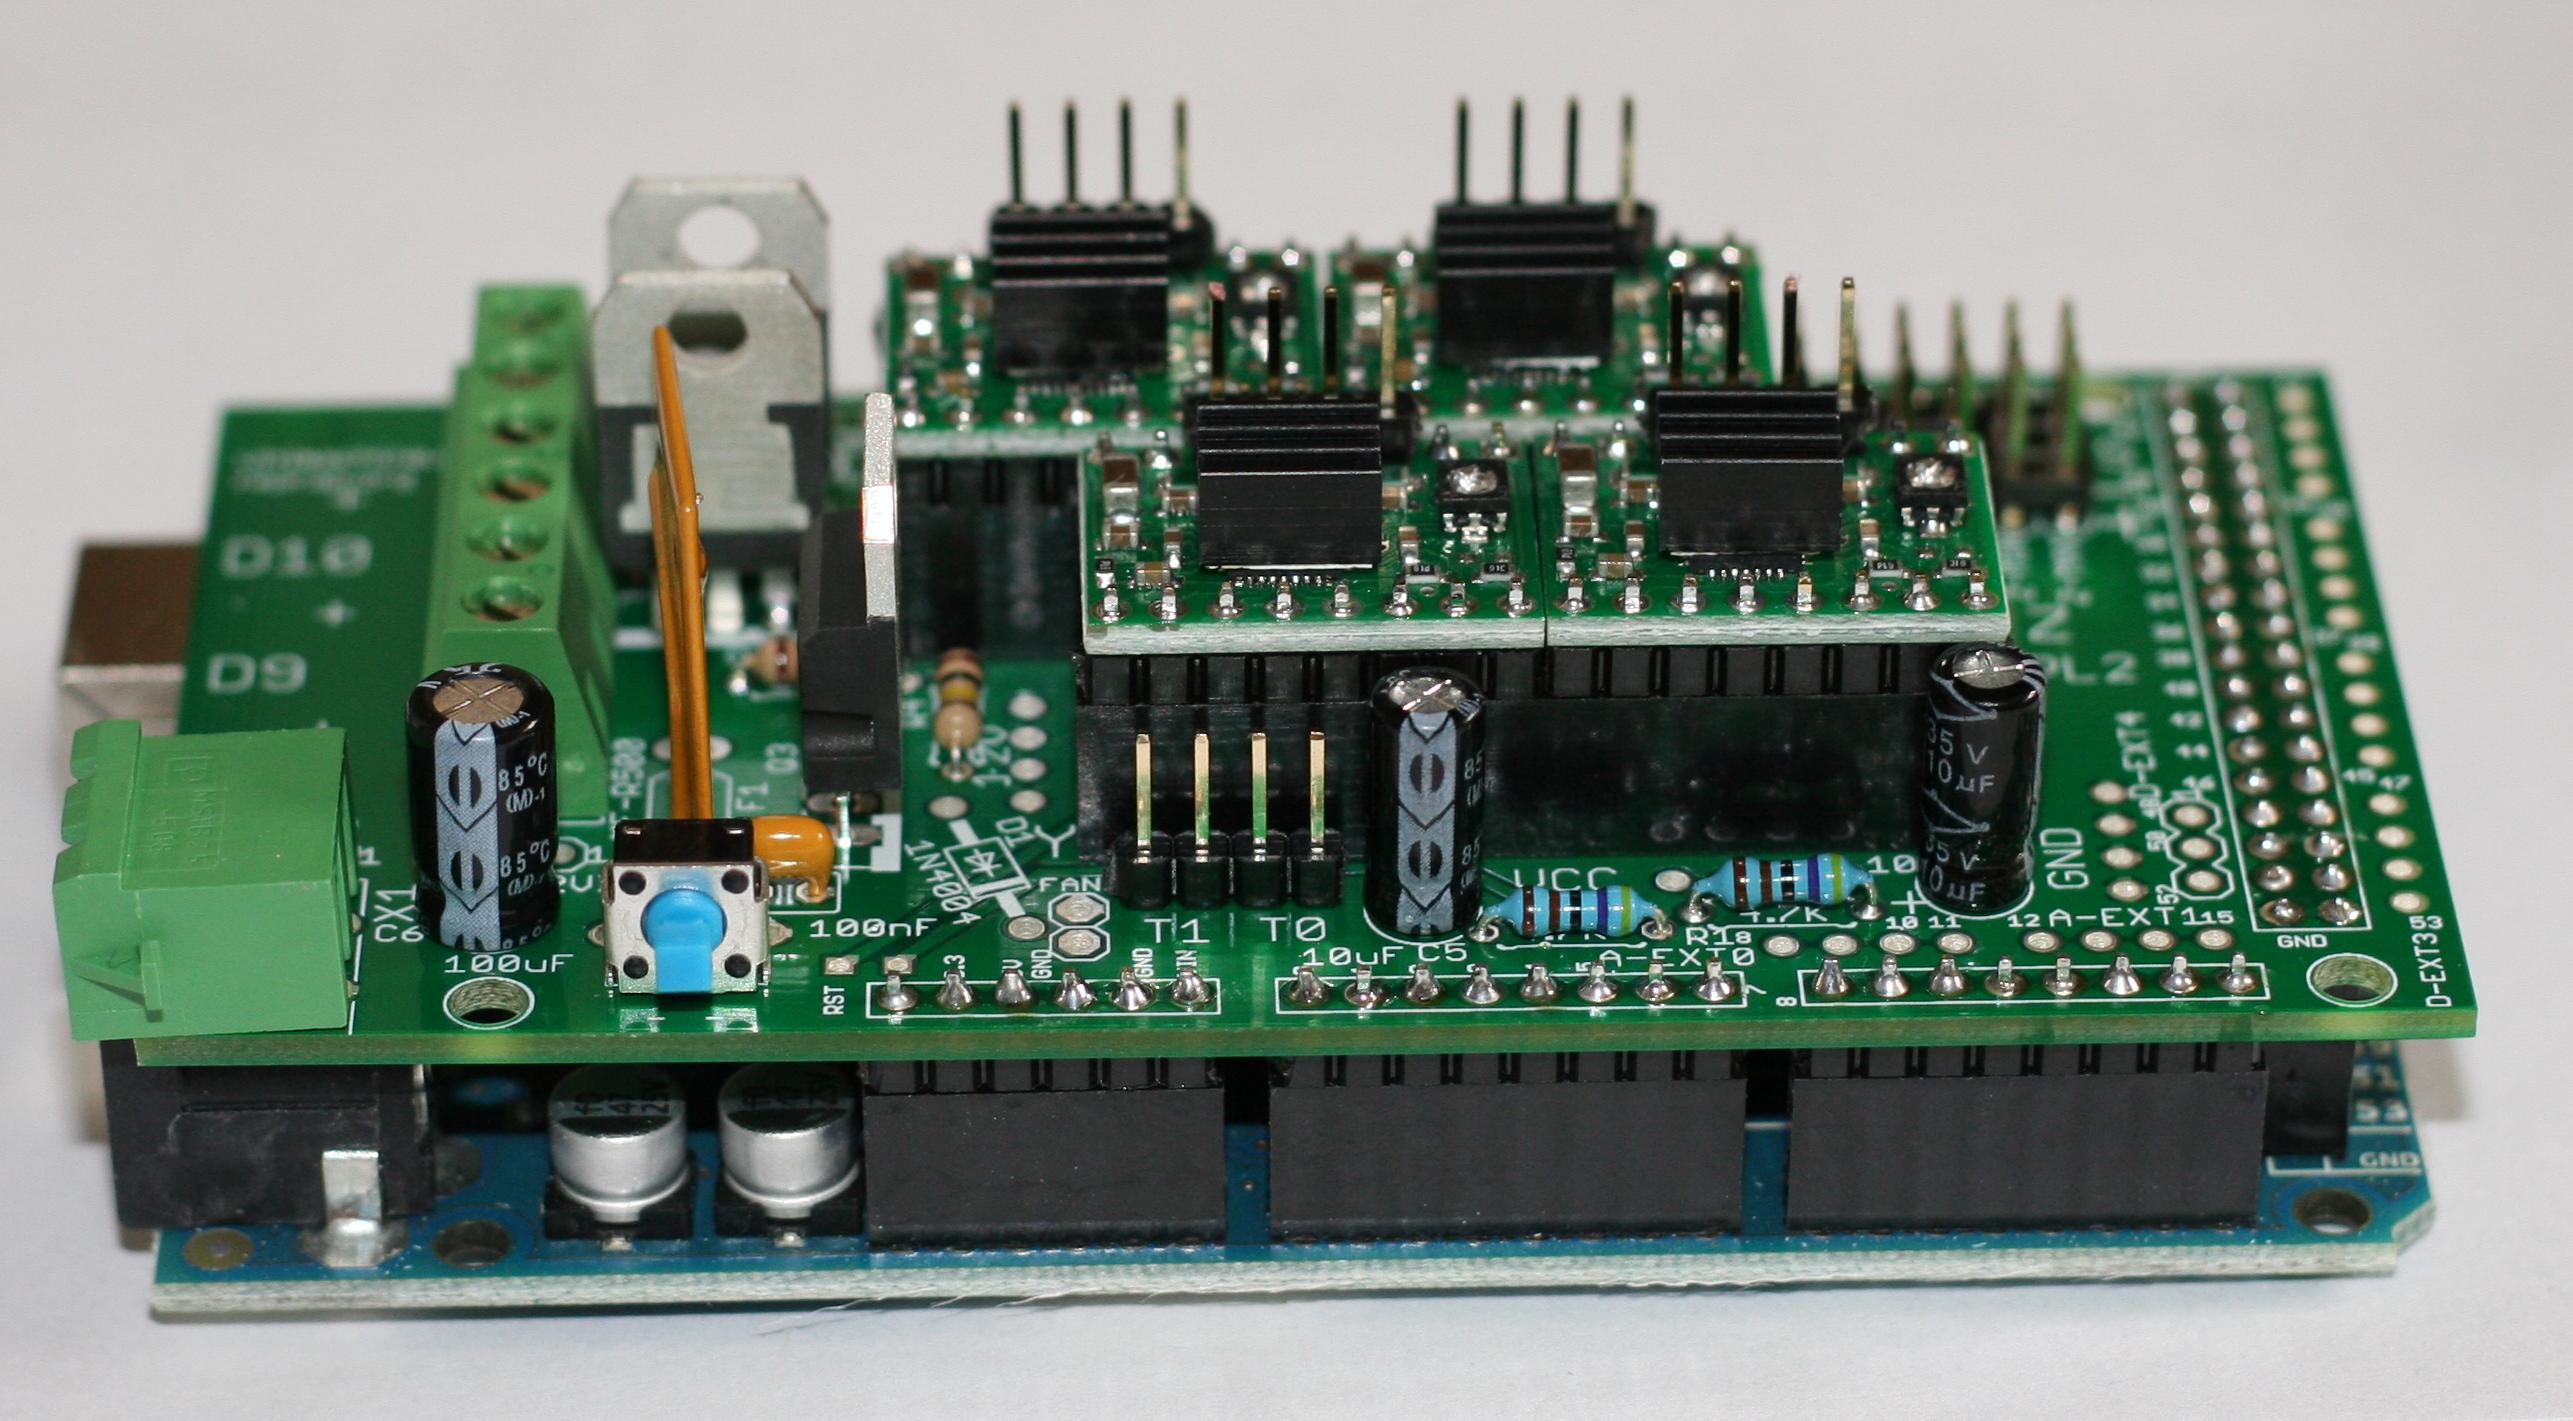
Having a soldering iron is important even if you have pre-built electronics. You might need to solder connectors to your stepper motors or to your ends-stops; you might even need to repair a small part of your circuit if something goes wrong. It doesn't have to be a nice soldering station, but make sure you get a soldering iron.

Software
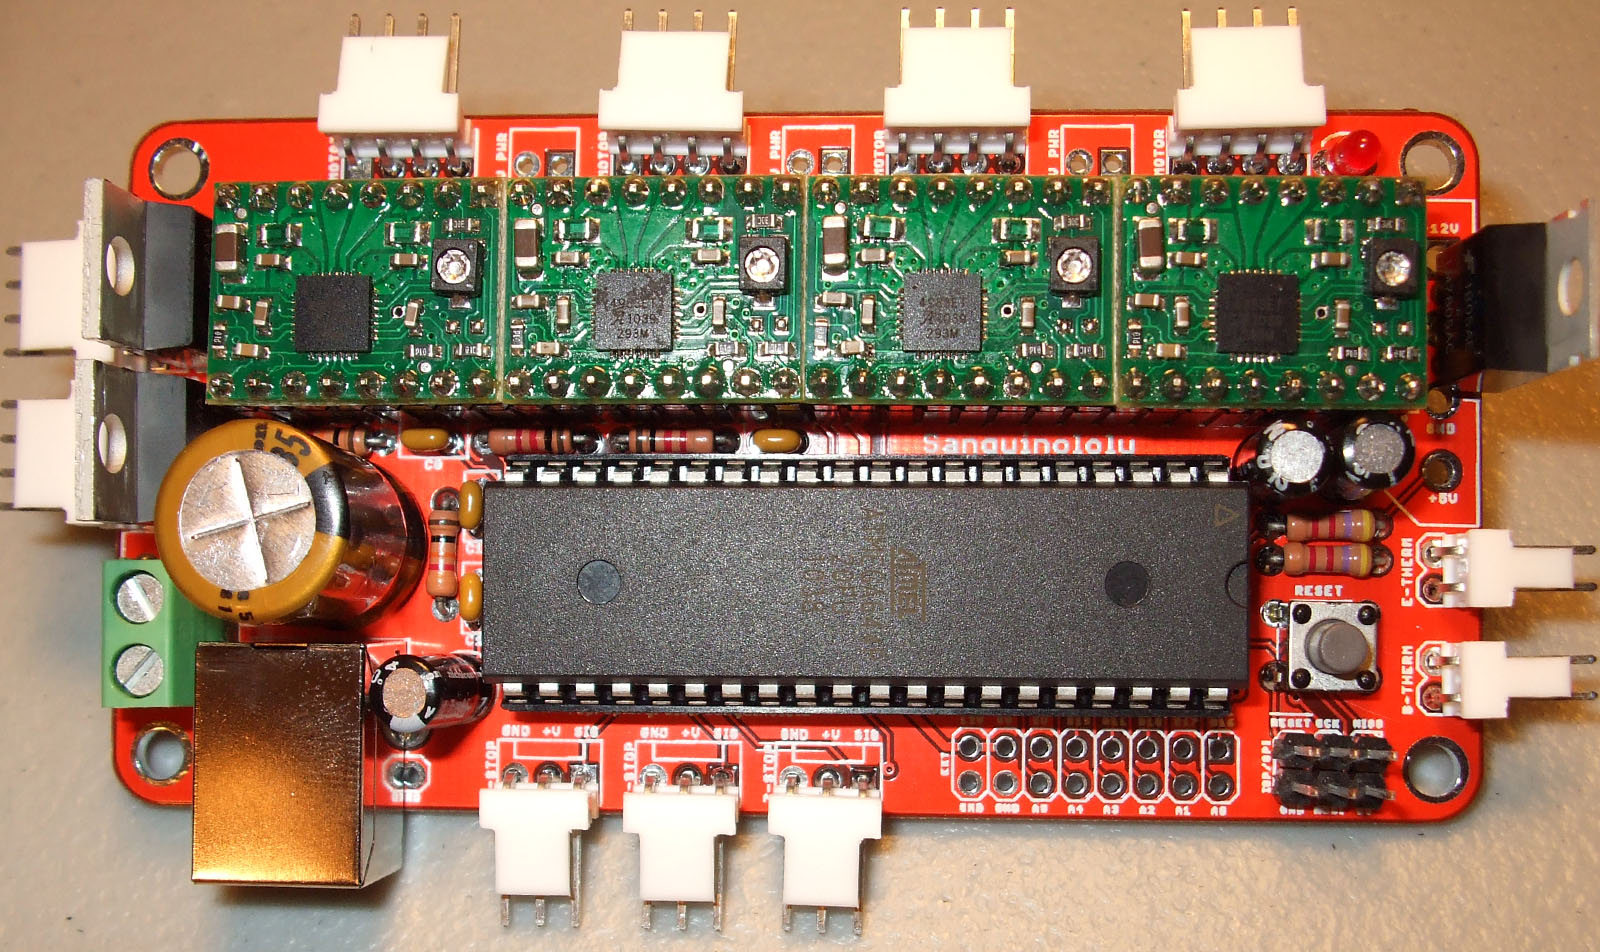
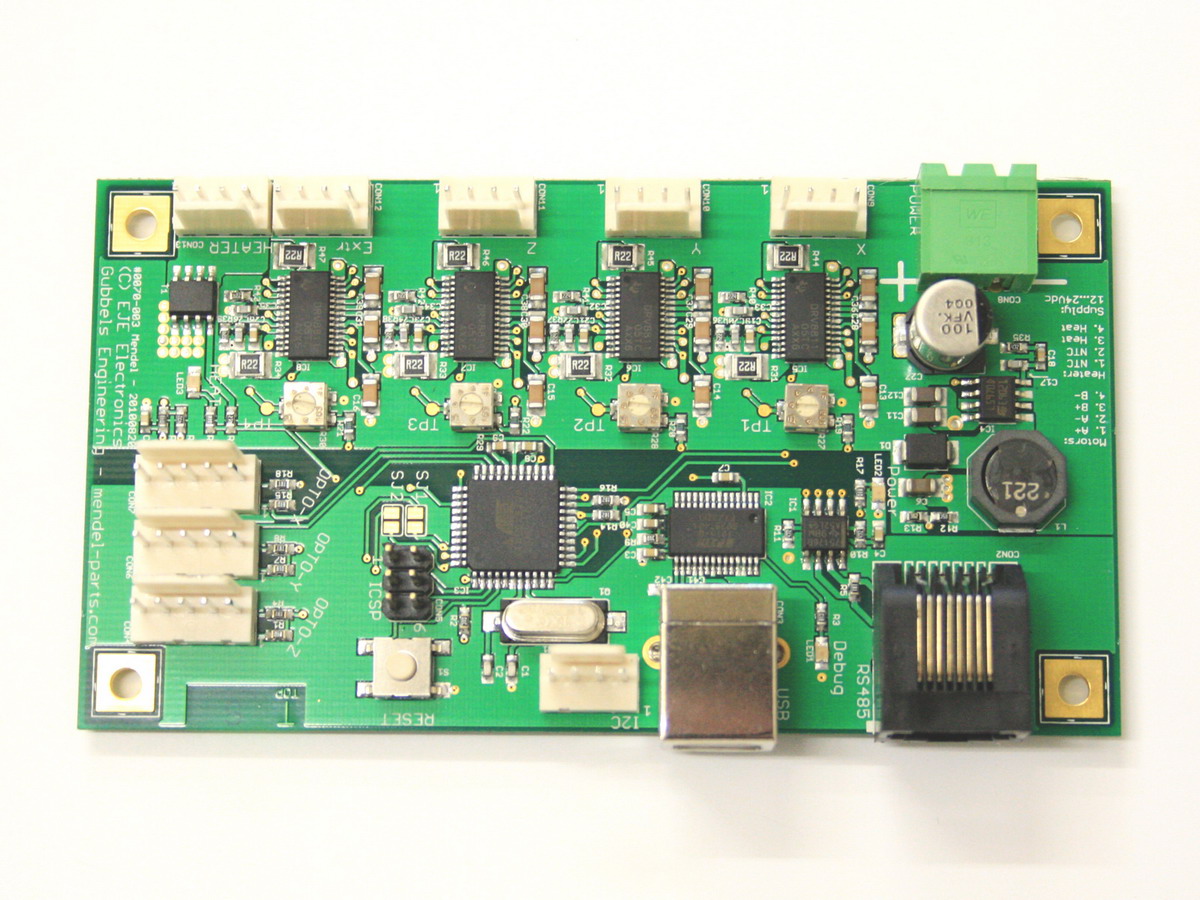
What happens when you are done putting everything together? This is one thing many people overlook when they start their build. Make sure you have the latest firmware for your electronics. Each type of electronics (be it RAMPS, Gen6, etc. ) will have slightly different firmware. For example, when I finished my build, a new type of firmware for Gen6 had been released, the Marlin firmware. Newer versions of firmware generally have more features than the old, such as stepper acceleration. Please, make sure you have the Arduino software downloaded. You will need to calibrate your electronics, this is done by modifying the code directly.

You will need a way to convert your models to g-code; this what the electronics will receive from the computer. When I first finished my printer Skeinforge was all the rage. Now there seem to be a few other options for generating g-code, which I have not had time to look into. Do your research in your downtime during the build. There is nothing worse than getting finished with your printer, then realizing you need to spend another week just to understand the software. I know you will want to do your first print the second you have everything hooked up.

The last bit of software you will definitely want is not really a program. A while ago, Prusa released a nice calculator which you can use to calculate your step sizes. This makes configuring your printer a breeze.

Conclusion

I'm sure that I am missing quite a lot of important things, but this should get you started. What this article should show you, is that it is important to think ahead when you are working on a RepRap. What did you find to be useful during your build? Let us know in the comments!

Friday, October 21, 2011

Cost Breakdown

Instead of this post showing what I believe the costs are expected to be, I will be posting my actual costs. Hopefully that will help you all out even more since I believe my actual costs are much more meaningful. That being said, though these costs are literally what I have spent they are somewhat dated, considering I ordered everything more than 6 months ago. Hopefully if you decide to build a Prusa your actual costs will be less.

My Prusa: mostly put together.
As for my final costs? I spent less than $600 total (so far) and do not expect to spend any more (except for upgrades)! Keep reading to find out how.

The Breakdown

In order to really optimize cost I broke down the project into a few categories which I called part groups. These are the categories I have chosen, keep reading for a quick explanation of each category.
  • Printed Materials - The printed plastic parts.
  • Vitamins - All the non-printed hardware.
  • Stepper Motors - The five stepper motors needed.
  • Hot End - All the parts needed for making the hot-end
  • Electronics DigiKey - The electronic parts I needed to order from DigiKey.
  • Electronics Mouser - The electronic parts I ordered from Mouser.
  • Gen6 PCB - The cost of the bare PCB
  • Filament - The plastic filament needed for a few prints and initial tests
  • Print Plates - The wooden plates on which things are printed on.
I will be going over each section individually, but here is a summary of each category and how much it cost.


Printed Materials - $120.55
Vitamins - $171.55
Stepper - $105.70
Hot Tip - $70.29
Electronics DigiKey - $33.20
Electronics Mouser - $34.92
Gen6 PCB - $35.78
Filament - $20.50
Print Plate - $0.00
Total - $592.49


The printed materials were purchased on eBay as I mentioned in this previous post. The overall cost including shipping was $120.55. The vitamins cost me $171.55 total including shipping as I also mentioned in a previous post. This was a bit more than I would have liked, and if I ever build a second Prusa I will be buying the parts individually from McMaster Carr. For first timers, I would recommend just buying a kit as it is easier and much less of a headache. I believe that kits which include the printed parts and vitamins should cost about $200 total; though it is possible to save upwards of $50 if you ordered the parts separately and shopped around.

I actually made a mistake in the post where I talked about the stepper motors. Even though I said that I bought the motors from SparkFun, I ended up buying the motors from Pololu. The reason? SparkFun's stepper motors were out of stock and I did not want to wait for them to come in. I ended up cancelling my SparkFun order and put in a new order at Pololu. The total cost was $105.70 including shipping. In hindsight, I should have ordered these from Ultimachine because the motor shafts come with a nice flat edge on them.

The first two parts of my hot end.
The hot tip, or hot end, was a bit more complicated than the other categories. This is the part of the Prusa with the least documentation and it seems like everyone does it somewhat differently. Using McMaster Carr the total cost for parts came out to $70.29. This is a bit high because of the minimum quantities, but I have enough material for more than 4 hot ends (if I decide to machine that many). The cost should be closer to $20 per hot end if I do not need any extra material and exclude labor. I will discuss how I built this and the parts needed in a future post.

A blurry picture of my soldered custom electronics.
I broke the electronics into three separate categories; the first two are for the components and the third is the cost of the PCB. Not all the parts were available at Mouser (my supplier of choice) so I ended up buying some parts from DigiKey also. Mouser and DigiKey came out to a combined total of $68.12. Keep in mind, I bought extra parts for almost every component (enough to populate two full PCBs) and I received many of the parts through free sample programs.

I ended up getting three copies of the circuit board. The service I use to get PCBs made, gives you three copies of your board at $5 a square inch. The PCB came out to about 3.6 x 2 inches, so I spent a total of $35.78 for three boards (that is a little less than $12 a board). I will post much better pictures when I discuss my design in a separate blog post.

PLA Filament from Ultimachine
Back when I bought my filament, I considered using either Ultimachine or eBay and ended up deciding on using both! I spent $20.50 on 1 pound of filament including shipping on eBay. The cost for 1 pound of filament from Ultimachine was closer to $25 including shipping. From everything I have read, the quality of Ultimachines filament is superb. I haven't had a chance to try filament from other stores yet, but when I do I will write a post about it.

The last cost group is the print plates. As I was trying to spent as little money as possible during my initial built, I decided to use MDF print plates instead of aluminum or acrylic (or any of the other materials people use). My decision was made easy because my brother had some scraps of MDF around that he cut for me. The cost? Free.

Conclusion

All in all, I think I did a great job of keeping it cheap. Keep in mind, all the prices mentioned in this post include shipping. Sure, there were some areas where I cut costs where others might not be able to, but that's the nature of RepRap. What should you take from this blog post? It is indeed possible to get a fully functioning RepRap with less than $600 and a lot of free time. I'm not saying that there aren't millions of upgrades I would like to buy for my printer (e.g. heated print bed), but this post shows what it takes to get started with a "bare-bones" Prusa.

You can expect to see a separate blog post for most of these categories, where I will show you what exactly makes up each category while I discuss how my build went.

Do you see anywhere I could have spent less? Let me know!

Sunday, October 9, 2011

Demystifying the Hot End

Now that I have decided what I will be doing with the electronics, I need to decide on how I will go about building the hot end. I want to know how much the Prusa will cost me before I go ahead buying parts for something I might not have the money to complete; the only part that is still completely unknown is the hot end.

What is the hot end? The hot end is the part that melts the plastic; it is the nozzle, or "pen" of the 3D printer. This is arguably the most important yet the most difficult part to make for the RepRap. Why? Because in order to make the best hot end, you need to either buy custom parts, or be able to machine metal. The extruder/hot end combination are a major factor in print quality, and it is important to get this part right.

For most people, I seriously recommend buying a kit or a premade hot end unless you have the ability to machine quality parts. A few months ago, when I was deciding what to do about the hot end I was still an engineering student (electrical) and I had a few friends who were mechanical engineers with a lot of machining experience. The combination of having access to the machine shop via my friends and the fact that a few months ago there were no quality hot end kits for a reasonable price led me to design and build my own..

What Makes Up a Hot End?

Let's start with the most obvious part of the hot end. The thing that makes it hot! Somehow we have to heat up the plastic enough for it to melt and flow through the nozzle. One of the easiest and most common way to heat up the metal nozzle is with a resistor, specifically a wirewound resistor. A wirewound resister is desirable because it generates heat well and also handles heat well, an added benefit is that they typically have low resistance. Having low resistance is important because the more current which flows through the resistor, the more heat it generates. To get high current, you either need a high voltage or a low resistance (ohms law), and it is easier to buy a lower valued resister than to generate high voltage. The resistor is typically embedded in an aluminum or brass heating block. You can see this in the picture below.

The hot end with the resistor and thermistor installed.
The next part is the thermistor. This is the part which measures the temperature on the nozzle, and makes sure it is accurate.

The other parts of the hot end differ depending on the design. Regardless, the rest of the hot end will allow you to mount it to the cold end (such as Wade's Extruder) and will insulate the plastic pieces of the cold end from the heat. This is why materials such as PEEK, and PTFE are used; they insulate the plastic parts from heat VERY well. The downside is that these two materials are expensive and typically are only available online.

NOTE: This is very important. If you are using PTFE for any parts of your designs you must not forget that it expands when it is hot. It will get hot. Forgetting this fact can make a seemingly great design not work at all.

Hot End Information

There are so many pages dedicated to hot ends on the wiki, it is a bit overwhelming if you don't know where to start. Currently (October 2011), there seem to be three popular options for a new hot end which are very successful.
Camiel's Hot End
The first option, which is what I based my design off of can be found here on the RepRap wiki. This is also very similar to Camiel's hot end design which is available already assembled from mendel-parts.com. This is the hot end in the picture above, showing the resistor and thermistor. This is also probably the simplest version to make yourself if you feel comfortable with drilling and threading some parts. Other versions of this design use a dome nut for the nozzle.

The J Head Nozzle (MK III-B
The next design is the J Head Nozzle. I did not know of this design when I decided what to do for my hot end, otherwise I would have chosen this one. Out of all the designs, this one relies the most on quality machined parts considering the heating block and the brass nozzle are one part. This design also has an aluminum heat sink which keeps the heat localized to the end of the tip. I will be discussing the importance of this in another post in the future. The black part of the nozzle is a PEEK rod. Inside the brass nozzle and the PEEK rod there is a PTFE tube which keeps the filament insulated until it gets to the tip.

"The PTFE tubing also acts to "bridge" the joint between the PEEK insulator and the brass nozzle/heater. By not having the filament in contact with this joint it is hoped that any possibility of leakage will be completely eliminated." (A quote from the wiki)

Though this design requires a complicated machined part, it does have a very low part count and would be very easy to assemble/install.
Arcol's Hot End v3.0
The last hot end design which I will mention is Arcol's hot end. It seems that many people have gotten amazing quality prints using this nozzle. I can't seem to find out how to buy these from Arcol's website, but another extruder based on this design is available from LulzBot's store.

Keep in mind, I have not purchased this nozzle, nor the J Head nozzle, so my thoughts here are all speculation based on my experience with what I do have. This nozzle seems to be quite complicated, with many different parts. This adds to it being more difficult to assemble but it also means that if one part breaks, you can replace just the one small part (if you can make or buy it individually). The thing that really impresses me with this nozzle is how the wiring is handled. In my own design, I have struggled with mounting the wires, this design handles the wires beautiful and makes it super easy to remove the hot end.

One thing I have noticed (which could be incorrect) is that neither the J Head nozzle, nor Arcol's nozzle, is available for both 3mm and 1.75mm filament. It seems that these kits are only for the 3mm filament. I would love to see a design which makes it easy to switch filament size depending on your needs. Regardless, I recommend going with 3mm to start out with if this is you first RepRap.

Conclusion

Keep in mind, these three options are just what I believe to be the most popular hot ends in the community. There are countless other designs which may or may not be more or less successful than any of the three I spoke of here. I hope that this post demystifies the hot end a bit!

What design do you use? Have any of you used multiple designs and can compare the differences in print quality?

Sunday, October 2, 2011

My Final Decision on the Electronics!

One of the hardest decisions you will have to make if you are building a RepRap, is what electronics should you use? As I might have mentioned before, I am an electrical engineer and have plenty of experience; not only working with other peoples designs, but also creating and building my own designs. That being said, even though I could design my own board using my preferred microcontroller (the MSP430), why reinvent the wheel?

Currently there are multiple options for electronics. There has been great success with many of them, so I decided to take one of the existing designs and modify it. What is my goal? To keep the electronics as inexpensive as possible. I think there is lots of opportunities to save when it comes to the electronics when you are willing to sacrifice ease of use and simplicity. For example, many people don't take advantage of the free sample programs provided by manufacturers and if you are building the electronics yourself, this could lead to huge savings.

I went through this decision process many months ago, but I would like to take a step back in time with this post so you can see my thought process throughout the design.

The Options

Back when I was deciding on what to do, there were really three options.
  1. Generation 3 Electronics
  2. Generation 6 Electronics
  3. RAMPS - RepRap Arduino Mega Pololu Shield
As I already said, much has changed since I decided what to do with the electronics. The most notable change was the addition of Sanguinololu electronics. To be honest, if the Sanguinololu was released as working and well documented when I decided what to do, I would have probably chosen the Sanguinololu.

Sanguinololu
Back then, the generation 3 electronics were already old months ago, now they must be ancient. This option is the most expensive and most complicated. I will not be discussing this option here since I passed by it quite quickly and it is completely irrelevant at the writing of this post.
Generation 6 Electronics
The generation 6 electronics is a single board solution that uses surface mount components to minimize the size and cost of the board. Many hobbyists reasonably shy away from surface mount components, so this option might not be the best for you. Luckily for me, I not only have a plethora of passive surface mount components, but I also have a rework station and a high quality soldering station. There are quite a few seemingly unnecessary components on this board, but I will go into that in another post.

RAMPS
RAMPS seems like a very good option for those of you who already have an Arduino Mega. RAMPS is shield for the Arduino Mega which has sockets for the Pololu stepper motor drivers. This seems to be one of the most popular choices for the electronics and there seem to be many places online to buy blank PCBs or the completed shield.

Stepper Drivers

Probably the most important and difficult part of the electronic is the stepper motor driver circuitry. Many of you will have some, if not lots of experience with the Arduino or other microcontrollers. The rest of the electronics are pretty standard and straight forward. Personally, I had no experience with stepper motors before this project and I am sure many of the more electrically minded people out there also have no experience with stepper motors.
Pololu Stepper Driver
The easy option is to use the Pololu stepper motor drivers; these motor drivers are used in both RAMPS and Sanguinololu to great success. I think that there are two downsides to using the Pololu stepper drivers. 

The first is the availability; I have seen countless accounts of these drivers being out of stock and hard to find. That being said, there is apparently a pin compatible StepStick available on eBay as an alternative. This is by far the simplest and most straight forward option available to you.

The second, and in my opinion the most important, is the cost. A single board costs about $13, this is quite high considering you need 4 of  these boards for a RepRap. Texas Instruments on the other hand has a stepper motor driver which not only is available from Mouser and DigiKey (the Allegro chip used in the Pololu board is not!), but is also available through TI's free sample program. I will be writing a separate post on this chip, the DRV8811 in the future.  Additionally, this chip comes in a much easier to solder package. I believe this is important since relying on a single company (Pololu) for a breakout board, for a chip which is not easily available, goes against the hacker/maker mentality.

Costs
My Decision

All things considered, I decided to go with making a custom version of the Generation 6 electronics. I can solder surface mount components, I already have almost all of the passive components needed, and I know of a place where I can get cheap PCBs made. The stepper motor drivers are really what made me choose Generation 6, I really wanted to avoid the Pololu controllers. I am going to modify the PCB by removing unnecessary parts and changing the passive components to the size I already have, hoping to make it cost even less! More on this in the future!

Looking Back

Given the fact that the Sanguinololu is an option now, I would highly recommend just buying a complete Sanguinololu kit. This is a design that is known to work and by buying a kit you will be able to save tons of time by not making custom electronics. If you really want to save money and have all the time in the world, or want to get your hands dirty with some electronics, buy a blank Sanguinololu PCB, get any free parts you can, and order the rest from Mouser or DigiKey.

Stay tuned for more!

The Filament Has Arrived!

I have been really busy over the last few months, and really haven't had the time to work on my Prusa let alone post my progress here. I started a few blog posts a while ago, and will be trying to catch you all up to my progress while I begin working on my RepRap again. If I repeat anything in my most recent posts, I appolgoze.

Filament!!

The mail man caught me as I was driving away with the package that contained the filament I bought from UltiMachine about a week ago. I bought 1lb of green PLA and some insulation tape which might come in useful for the hot-end.

I opened the package and found a happy surprise! They included a free sample of their transparent blue PLA!! That was the color I actually wanted when I ordered but they were sold out. Very cool! Thank you UltiMachine! You have won me over as a customer.


The PLA was a lot harder than I imagined and I feel like I could snap it fairly easily, but I guess that makes sense considering how nicely the printed pieces come out. The green is also a great color green.

On a separate note, I ordered some purple ABS on eBay for a total of $20.50 including shipping so I could try out ABS and compare it to PLA. Theres nothing like having a hands on comparison, plus purple is a pretty cool color.


I tested this with what is completed of my Wade's Extruder which does an amazing job of pushing out the filament. The only problem is that I have to loosen the springs quite a bit to get it to fit at all, once it is inserted though there seems to be no slippage when I put a reasonable amount of force against it.

I'm starting to feel pretty good about this! I am still endlessly impressed by how helpful and kind everyone who I have spoken with is or done business with is. It is a pleasure to join the RepRap community.

What color do you think looks the best on your printed parts?

Wednesday, August 3, 2011

Stepper Motors and Bluetooth

About a week ago I needed to order a few things from SparkFun for another project, so I decided to save on shipping and also order the stepper motors from them. They just came! SparkFun is a great company, I am always excited when I order stuff from them. In addition to the stepper motors, I also ordered two of their Bluetooth modules for another project. These modules are great! Once I have my electronics working for my Prusa, I will probably use this to make it wireless.

The Bluetooth module from SparkFun soldered onto a custom board I designed.
So, about the stepper motors. They are way heavier than I expected, but I think that's a good thing. The ends of the wires have no connectors and are simply stripped and tinned. I will have to solder on standard .1" headers to them in order to hook them up to the board I will be making in the future.

I hooked up one of the stepper motors to what I have already assembled. Despite not having a flattened side on the shaft, the gear's fit is quite snug.
For those of you who have yet to buy your motors, I sadly do not recommend buying them from SparkFun. The problem lays with the shaft: the size is correct, but shaft is completely circular. This will make it difficult to stay connected to the plastic gear, the solution is to either flatten one of the sides of the shaft yourself or buy a different stepper motor (the third solution, which is the one I am using, is to hope for the best with the shaft as is). After I already received the motors, I was speaking with the person who I purchased my printed parts from, and he recommended that I buy the motors from Ultimachine because "they are the beefiest motors [he has] found and [they] also come with a flattened shaft on the motors."

I hope this post helps some of you to choose your motors more carefully than I did.

Later this today or this week I will try to post more pictures of the build.

Wednesday, June 15, 2011

The Build Has Started!

Since the last post was written, I have received the missing rod and some extra parts too from ThreadShop!

I won't go into detail about the assembly since it is all very straight forward, especially after Garry Hodgson created the Prusa Mendel Visual Instructions. I have to be honest, I am very very impressed with the instructions; there is almost no ambiguity and everything comes together quite perfect!

Before I get to some pictures of the build I want to mention one thing that confused me at first. Instead of snap on bushings, I was sent bushing holders and metal bushings. I was really unsure of how this would all come into play, but after I started building the Prusa it all came together.

The Frame Coming Together!
Well, this was exciting! I went from nothing to a frame in almost no time at all. It was unbelievably easy to get this far. Everything seems to fit well and go very smoothly. The only small issue I ran into was that the rods were not perfectly cut on each end and sometimes was not perfectly smooth and round. This meant that for some rods, I had to put the nuts on from one side to get around this. Nothing I could not handle though!

A Motor Bracket
 As an electrical engineer, it has been years since I have done anything mechanical. This is getting to be a lot of fun!
Upper Motor Bracket (Z-Axis)
Here is a close up of the z-axis which is on top of the frame. Two stepper motors are used for the z-axis on the Prusa. I hope my motors fit! We will see when they arrive.

Bushings
As I mentioned above, the bushings gave me a bit of frustration. At first I was at a loss as to how it all worked. The metal bushings did not fit in the bushing holders and I was not sure if I was doing something wrong. After a few emails to both the people who sold me the hardware and the printed parts, I was not doing anything wrong and I just needed to sand down the inside of the bushing holders a bit. I was very scared at first of breaking the plastic part, but after a few bushings snapped in just fine I become more comfortable. I found that the best way to sand down the inside of the holders was to first scratch the inside with a knife to get some material loose; then finally sand down the inside using one of the threaded rods. It worked quite well as you can.

I am not sure what I will do next, but I will be sure to keep you all updated.